
Video contests are a great marketing tactic for helping to spread the word about your brand, mission, or product. With the ubiquity of video-capable devices like iPhones, tablets, and webcams, your users can become an army of crusaders for your mission by creating a video related to your own prompt with very little friction.
Think setting up a video contest needs to be an expensive, labor-intensive endeavor? Think again.
Using this comprehensive guide, you’ll be able to set up a fully-functional video contest on your WordPress website, including a page that allows your visitors to upload a video directly to a Vimeo account, an administrative panel to manage incoming submissions, and an awesome video gallery to showcase all of the entries. Let’s go!
What you’ll need
- A WordPress site (if you don’t have one, you can get one set up for $5 a month with just a few clicks using Digital Ocean)
- A Vimeo account (free to try, but you’ll likely need to upgrade your storage for submissions)
Plug it in, plug it in
One of the reasons WordPress is so popular is due to the immense number of plugins available to enhance the capabilities of your website.
We’re going to use a handful of these plugins to combine them together and build a video contest machine on your site. Here are the must-haves:
- Ninja Forms (free, handles the form layout that your site visitors will use to enter information about their submission)
- Vimeography Upload ($129 a year, adds an Upload to Vimeo uploader area where visitors can select a video and post it to your brand’s Vimeo account)
- Vimeography Galleries (free, provides an easy-to-use video gallery where viewers can browse all of the entries to your contest)
Using those three plugins, you have all of the tools ready to rock. Make sure to download those plugins and add them to your WordPress site by visiting the plugins page in the admin dashboard on your site.
Great! Let’s move on.
Connecting your Vimeo account
In order to connect your Vimeo account to your WordPress site, you’ll need to obtain an access token that securely establishes this connection.
You can retrieve an access token for your Vimeo account through the Vimeography Upload app HERE, which will prompt you will an opt-in authorization screen.
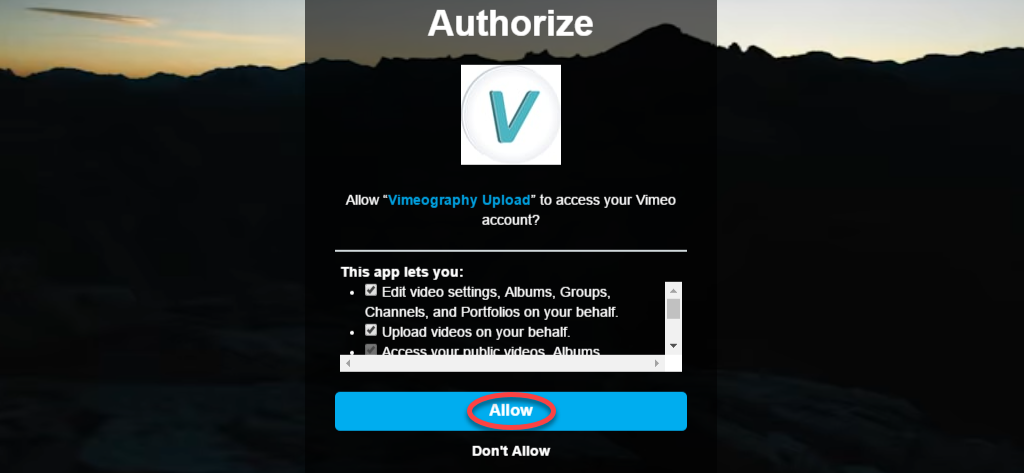
Once you have authorized access to your Vimeo account through the link above, your access token will be displayed on the screen. Your access token is similar to a password for your Vimeo account, so be sure to protect it and don’t give it out to anyone.

To give the Vimeo Uploader extension access to your Vimeo account, select your access token and copy it to your clipboard.
- Now, head over to your WordPress Dashboard and visit the Forms > Settings page in your admin menu.
- Scroll down until you see the Vimeo Uploader Settings box, which contains a text field with a Vimeo Access Token label.
- Paste your access token in this field and then click the blue Save Settings button at the bottom of the page, as shown below.
- Your Vimeo account is now successfully connected!

Creating your entry form
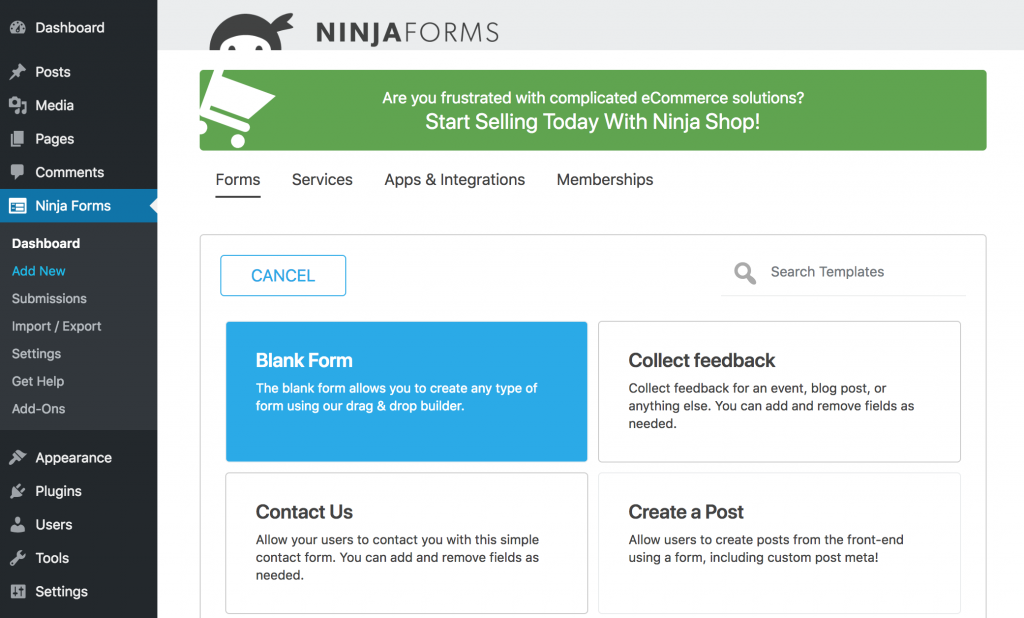
Start by heading to your WordPress Dashboard and visit the Forms >Add New page in your admin menu. From the boxes that appear on that page, choose “Blank Form” to create a new form from scratch.
You’ll be presented with the Ninja Forms form builder. Under the Form Fields heading, click the blue plus (+) that allows you to add your own form fields.
You’ll likely want to collect some general information about the person that is submitting the video entry. Under User Information Fields, select the following fields to add them to your form.
- First Name
Now, we’ll add the special fields that will perform the magic task of uploading the user’s video to your Vimeo account. Scroll to the bottom of the Form Fields drawer to find the Vimeo Uploader section. You should see three fields available to you:

- Video Title is a text box that allows your site visitor to enter a title for the video that they are uploading.
- Video Description is a text area that allows your site visitor to enter a description for the video that they are uploading.
- Video Dropzone is a special field that allows your site visitor to drag and drop their video file into a box that will attach their video to the form. It also provides a link for the user to click and choose the video file on their computer as an alternate method of attaching their video to the form.
Let’s use all three of these fields in our video uploader form. You can add them to your form by clicking the navy button for each one.
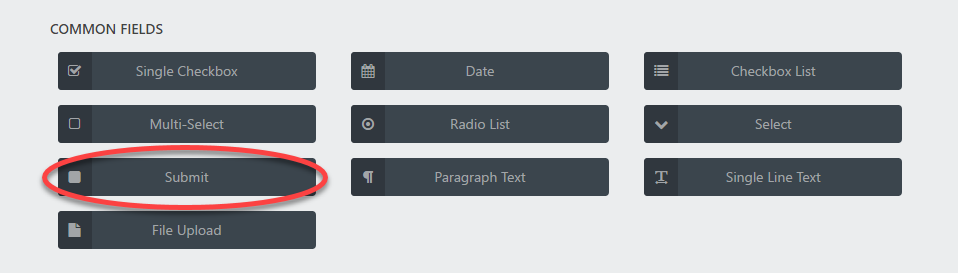
You’ll also want to add a Submit button, so scroll to find the Common Fields section of the drawer, and click the navy button labeled Submit.
Now that you’ve added these four fields to your form, click Done and let’s move on!
Using the Upload to Vimeo action:
Now that we have our form fields set up, it’s time to tell our form how to handle a video that a user attempts to upload.
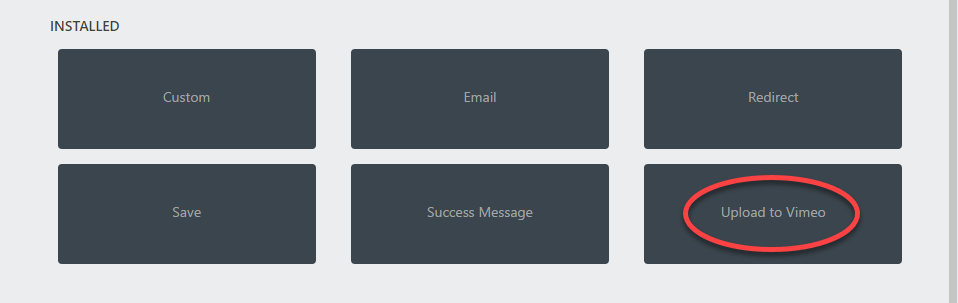
From your form builder, click on the Emails & Actions tab at the top of the page. Then click the blue plus (+) button at the bottom right to add a new action to your form. Now, under the Installed heading, select the Upload to Vimeo action to add it to your form.
The Upload to Vimeo action currently has 5 settings:
- Final Video Title allows you to make modifications to the video title that is being uploaded before it gets stored on Vimeo. The default behavior is to use the video title provided when the form was submitted.
- Final Video Description allows you to make modifications to the video description that is being uploaded before it gets stored on Vimeo. The default behavior is to use the video title provided when the form was submitted.
- Minimum User Role for Uploading allows you to select the minimum WordPress role that your site visitors must have in order to upload videos to your Vimeo account. If you would like for all visitors to have uploading permission, choose Guests+
- Video Privacy allows you to set the default privacy setting of the uploaded video once it is stored on your Vimeo account. The default setting Only Me will hide your video from the public.
- Add Uploaded Videos to a Vimeo Collection [toggle] allows you to enter the URL of a Vimeo album that you would like to add the uploaded video into. We’ll probably want to use this setting, so make sure to go over to Vimeo and create a new album, then enter the link to that album in this box.
Now that you’ve learned about these settings, click Done and let’s move on!
Displaying the Vimeo Link on the Success Page:
Lastly, to show the Vimeo URL link for the video that was just uploaded on the form success page, you can simply use the
[ninja_forms_vimeo_link] shortcode in the Emails & Actions > Success Message‘s message box shown below, or use the {vimeo_uploader:vimeo_url} merge tag. This will output a link to the new video where it is housed on Vimeo, for the user to verify upon form completion

You’ll get a shortcode that you can use to display the form on the WordPress page of your choice.
Displaying submissions in a video gallery
Now, let’s create a gallery that will automatically showcase all of the videos that are uploaded through your new submission form.
Select New Gallery from the Vimeography menu in your admin dashboard and enter the link to the Vimeo album that you just created.
Once you’ve created your gallery, you can now place the Vimeography shortcode on your WordPress site on a new Entries page.
Wrapping up and next steps
You can choose a different video gallery layout if there’s a better fit for you by browsing the gallery themes over at https://vimeography.com/themes
If you’d like to take things to the next step, including showcasing unlimited videos, search bar, and more, check out Vimeography Pro.
Comments or questions?
We’re happy to help. Feel free to send a note to us by emailing support@vimeography.com and we’ll get back to ya.